Backyard studio cost and planning

Design your backyard studio. See what the whole project should cost.

A backyard studio is more than a shell. Size, windows, doors, foundation, delivery, site access, electrical work, heating and cooling, interior finishes, permits, and installation can all materially affect the completed price. Use the Cost Planner to explore the options and develop a realistic preliminary budget.

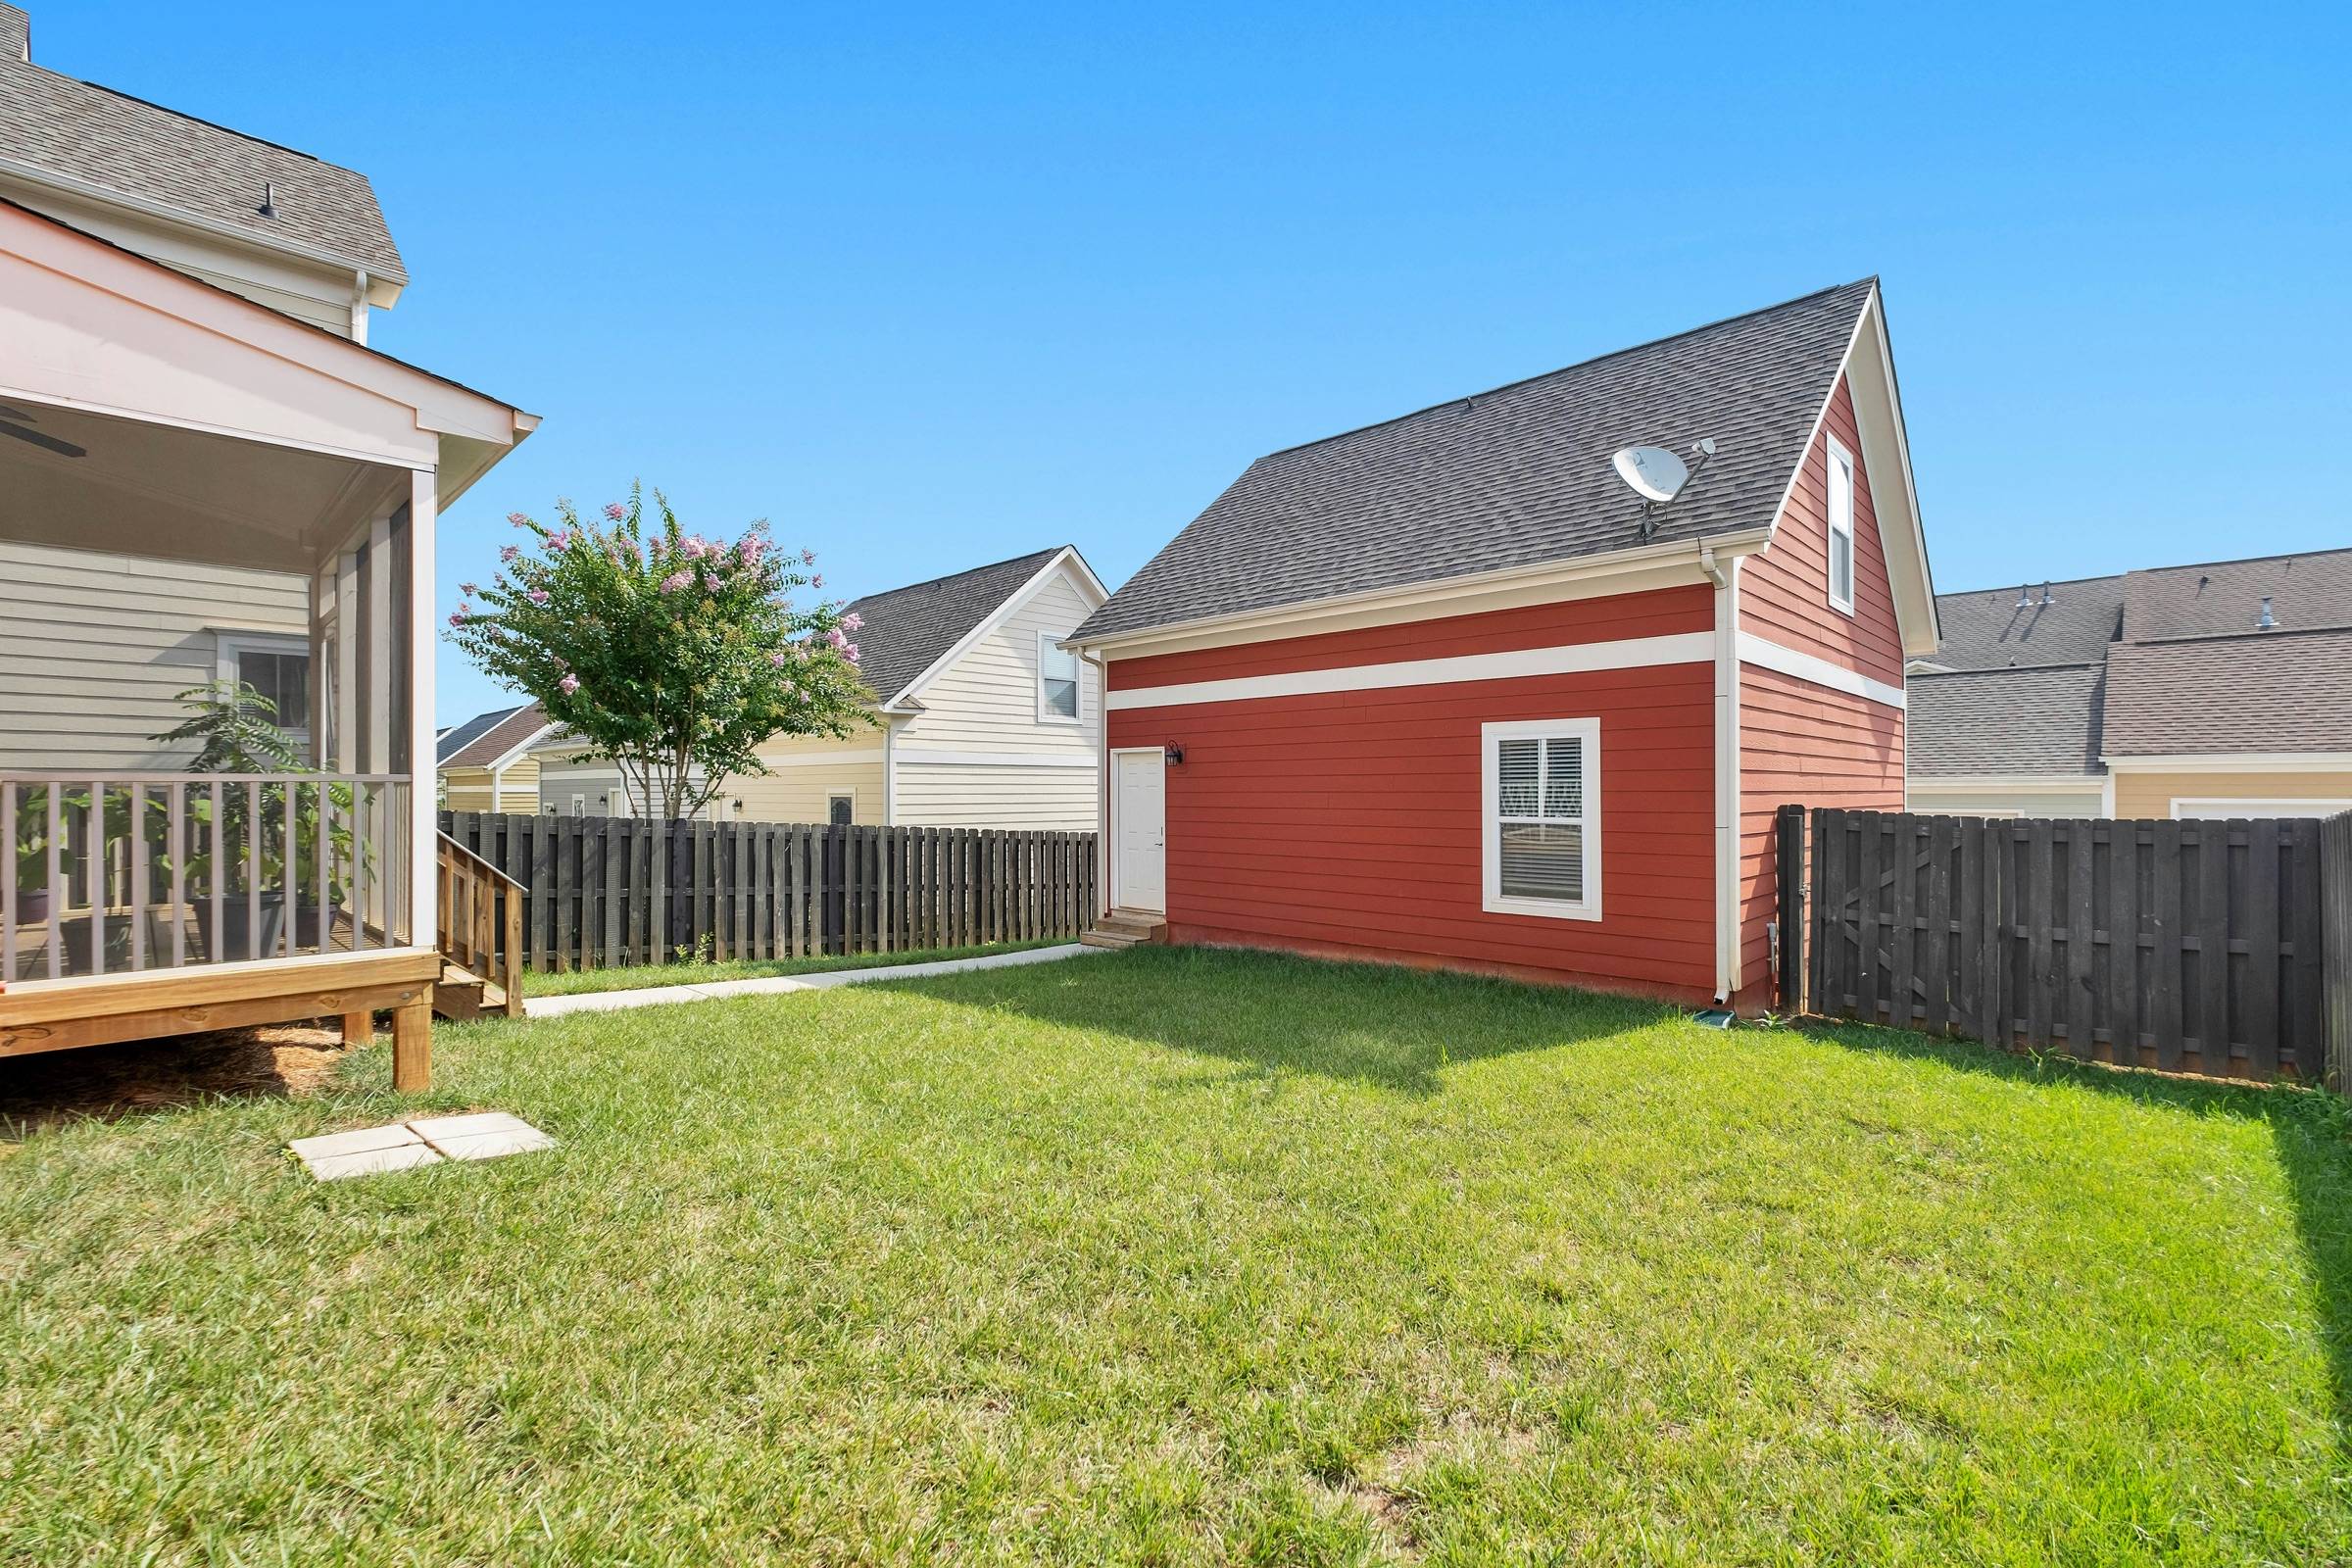
Detached red-sided backyard building with a gabled roof in a fenced, grassy back yard behind a house

Design My Backyard Studio separates the shell, the installation, and the site so you can see what a finished, usable room should cost before you talk to a builder.

Cost at a glance · Reviewed October 2026

Three ways studios are priced

Published prices describe different amounts of the project. Know which one you are looking at.

Installed shell

Approximately $25,000–$45,000

This may include delivery and assembly of the primary exterior structure. Interior finish, electrical work, heating and cooling, foundation, permits, and site work may remain separate.

Examples: Kanga Room Systems (opens in a new tab)

These are current published market examples, not national averages or project quotes. Manufacturers define shell, installed shell, and finished scope differently.

Start the Cost PlannerRead the complete cost guide

Shell price is not project price

Where the money goes

The most common pricing mistake is comparing a shell-only advertisement with a completed and usable project. The Cost Planner separates these layers so you can understand where the money goes.

  1. Building shellOften in a shell-kit price
  2. Windows and doorsOften in a shell-kit price
  3. Exterior finishesOften in a shell-kit price
  4. DeliveryOften added in an installed-shell price
  5. UnloadingOften added in an installed-shell price
  6. AssemblyOften added in an installed-shell price
  7. Interior finishesOften added in a finished or turnkey price
  8. Electrical serviceOften added in a finished or turnkey price
  9. Heating and coolingOften added in a finished or turnkey price
  10. FoundationFrequently separate even in finished pricing
  11. Site preparationFrequently separate even in finished pricing
  12. Permits and professional servicesFrequently separate even in finished pricing
  13. Steps, landing, deck, or walkwayFrequently separate even in finished pricing
  14. Landscaping restorationFrequently separate even in finished pricing
  • Often in a shell-kit price
  • Often added in an installed-shell price
  • Often added in a finished or turnkey price
  • Frequently separate even in finished pricing

How the Cost Planner works

A whole-project range in a few minutes

No account and no contact details are needed to see your result. Most people finish a first pass in three to six minutes.

Start my project

  1. Choose the room’s purpose.

    Office, art studio, music room, gym, or flex space. The planner highlights what matters for that use.

  2. Select an approximate size.

    Set width and depth from 80 to 300 square feet and see the area update as you go.

  3. Choose the shell or finish level.

    Shell kit, installed shell, or a finished, conditioned studio.

  4. Configure the details.

    Windows, doors, finishes, electrical, heating and cooling, and acoustic needs.

  5. Describe the property.

    Slope, backyard access, distance to the house panel, foundation, and an optional ZIP code.

  6. Review the whole-project range.

    See the planning range, the cost breakdown, the biggest drivers, and ways to reduce it.

Why the price varies

Twenty-five things that move the number

Two studios with the same footprint can differ in cost by tens of thousands of dollars. These are the reasons.

  • Footprint

    More floor area means more structure, cladding, roofing, flooring, and conditioning. Price rises with size, but not perfectly in proportion: fixed costs such as delivery, permits, and electrical service are spread over more square feet.

  • Wall height

    Taller walls add framing, cladding, glazing area, and interior volume to heat and cool. They can transform how a small room feels.

  • Roof form

    A single-slope shed roof is efficient and common on prefab studios. A gable adds rafters, ridge detailing, and more roofing area.

  • Structure

    Snow load, wind exposure, long spans, and large openings can require heavier framing, headers, or engineered components.

  • Foundation

    Piers or ground screws are usually the lowest-cost path. Slabs, engineered footings, or elevated foundations on slopes cost substantially more.

  • Glazing

    Windows are among the most expensive parts of the wall. Large, fixed, or full-height glass also affects structure, privacy, and comfort.

  • Doors

    A single glazed door is the baseline. French doors, sliders, and multi-panel glass openings add cost and structural demands.

  • Siding

    Fiber cement, wood, and metal cladding differ in material cost, labor, and maintenance.

  • Roofing

    Standing-seam metal, membrane, and shingles vary in price and in how they suit low-slope roofs.

  • Insulation

    A year-round room needs insulated walls, roof, and floor. Colder or hotter climates justify higher-performance assemblies.

  • Interior finish

    Exposed panels, simple wall panels, drywall, wood, and custom millwork span a wide price range for the same room.

  • Flooring

    Durable vinyl plank is common. Hardwood, tile, or rubber gym flooring change both price and the floor structure needed.

  • Electrical

    A few outlets and lights on one circuit cost far less than a subpanel with dedicated circuits, data, and exterior lighting.

  • Heating and cooling

    A ductless mini-split heat pump is the common choice for year-round use. Electric heat alone is cheaper but provides no cooling.

  • Acoustic requirements

    Echo control is inexpensive. Meaningful sound isolation changes walls, ceiling, doors, windows, and ventilation, and costs much more.

  • Access

    Narrow side yards mean hand-carrying materials. Volumetric modules or blocked access may require a crane.

  • Slope

    Sloped sites may need grading, retaining, taller piers, or additional steps.

  • Soil

    Expansive clay, fill, or rock can change the foundation design and add excavation or engineering.

  • Drainage

    Runoff toward the studio may require grading, drains, or gutters with discharge away from the foundation.

  • Utility distance

    Every foot between the house panel and the studio means more trenching and conductor. Crossing hardscape adds more.

  • Freight

    Shipping depends on distance from the factory, package size, and whether a liftgate or special delivery is needed.

  • Local labor

    Installation, electrical, and finish labor rates vary widely between regions and seasons.

  • Permits

    Fees, required drawings, and inspections vary by jurisdiction, size, intended use, and electrical and mechanical scope.

  • Design or engineering

    Custom designs, engineered foundations, or high wind and snow areas may require stamped drawings.

  • Landscaping restoration

    Trenching, staging, and equipment can damage lawn, beds, and irrigation that must be repaired afterward.
Common studio uses

Plan around how you will use the room

The intended use shapes daylight, power, comfort, and sound decisions. It also affects how a local authority may regulate the structure.

  • Office

    Consider daylight, glare control, acoustic privacy, outlets, data, video-call backgrounds, and year-round temperature control.

  • Art studio

    North or diffuse light, wall space for work, durable washable surfaces, ventilation for materials, and good task lighting.

  • Music room

    Meaningful sound isolation can affect walls, ceiling, windows, doors, ventilation, structure, and cost.

  • Fitness room

    Floor loading, ceiling height, ventilation, durable flooring, equipment clearances, and mirrors may become more important.

  • Hobby room

    Work surfaces, storage, task lighting, outlets where tools are used, and durable flooring.

  • Wellness room

    Quiet, soft daylight, privacy from neighbors, comfortable temperature, and calm finishes.

  • Poolside room

    Moisture-tolerant finishes, durable flooring, shade, wide openings to the pool deck, and local rules near pools.

  • Flex space

    Adaptability: enough outlets, comfortable temperature, and finishes that suit several future uses.

The Cost Planner covers detached rooms without plumbing, a kitchen, or sleeping accommodations. How a studio differs from an ADU.

Typical project process

From idea to a usable room

A finished project may involve several parties:

  • Manufacturer
  • Local installer
  • General contractor
  • Foundation contractor
  • Electrician
  • HVAC contractor
  • Architect or designer
  • Engineer
  • Permit authority

Read the planning guide

  1. Preliminary configuration

    Decide on use, size, finish level, and comfort systems, and set a working budget range.

  2. Property and zoning review

    Confirm setbacks, height, lot coverage, easements, and HOA rules with the local planning department.

  3. Site verification

    Check slope, soil, drainage, access route, and the electrical path from the house.

  4. Final product or design selection

    Choose a manufacturer system, a designer, or a builder, and confirm exactly what each price includes.

  5. Permit and foundation planning

    Prepare drawings, apply for permits, and design the foundation for the actual site.

  6. Factory production or material procurement

    Panels or modules are built, or materials are ordered, often while permits are in review.

  7. Delivery and installation

    The foundation is completed first; then the structure is delivered and assembled.

  8. Electrical and HVAC completion

    The feeder, wiring, lighting, and heating and cooling are installed, usually by licensed trades.

  9. Inspection and handoff

    Required inspections are completed and the room is ready to use.

Start with a realistic project range.

Configure the size, finish level, comfort systems, and site conditions. The Cost Planner will show a preliminary whole-project range and identify the assumptions that still require professional verification.